These crispy BBQ chicken wraps are absolutely the best quick lunch when you want something tasty and filling! Packed with tender chicken, tangy barbecue sauce, melty cheese, and fresh veggies all wrapped in a warm tortilla and toasted to crispy perfection. They’re super customizable and ready in just minutes! 😋
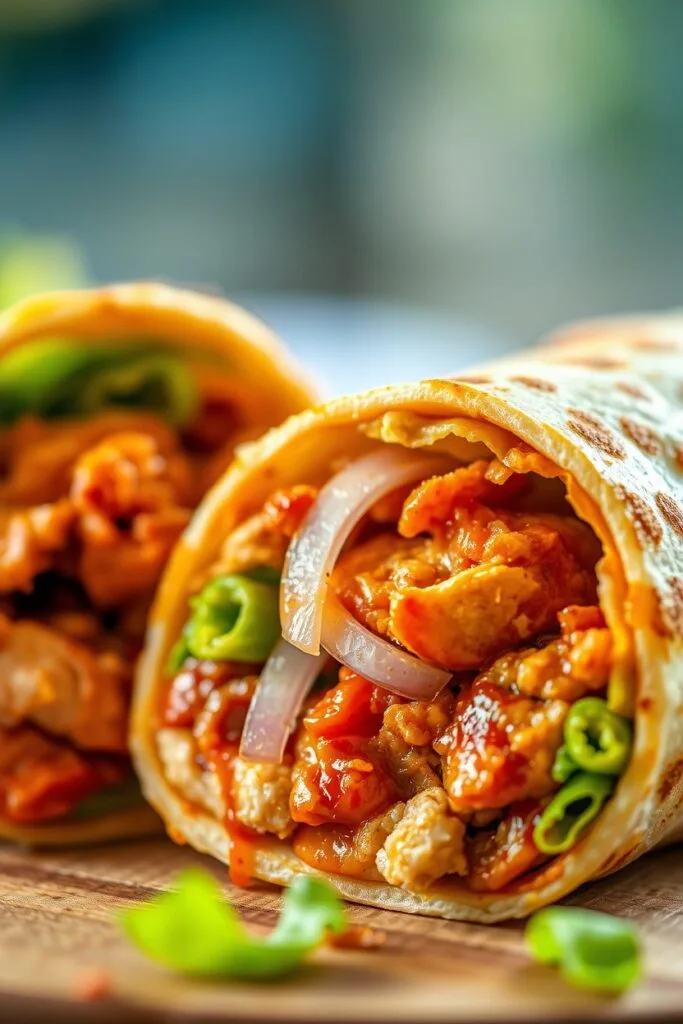
| Prep Time | Cook Time | Total Time | Servings | Difficulty |
|---|---|---|---|---|
| 5 minutes | 5 minutes | 10 minutes | 4 wraps | Easy |
My BBQ Chicken Wrap Story
I first made these BBQ chicken wraps on a busy summer afternoon when I had stayed at the pool a little too long with my kids. 🏊♀️ We were all hungry and a bit cranky, and I needed something quick that would make everyone happy. I had some leftover grilled chicken in the fridge, a bottle of our favorite barbecue sauce, and some tortillas. Within minutes, I had whipped up these wraps, and they were an instant hit!
Now they’ve become our go-to lunch when we want something fast and delicious but still homemade. What I love most is how I can customize them for everyone in the family – extra cheese for my son, no onions for my daughter, and extra BBQ sauce for my husband. These wraps have saved mealtime in our house more times than I can count!
Why You’ll Love This Recipe
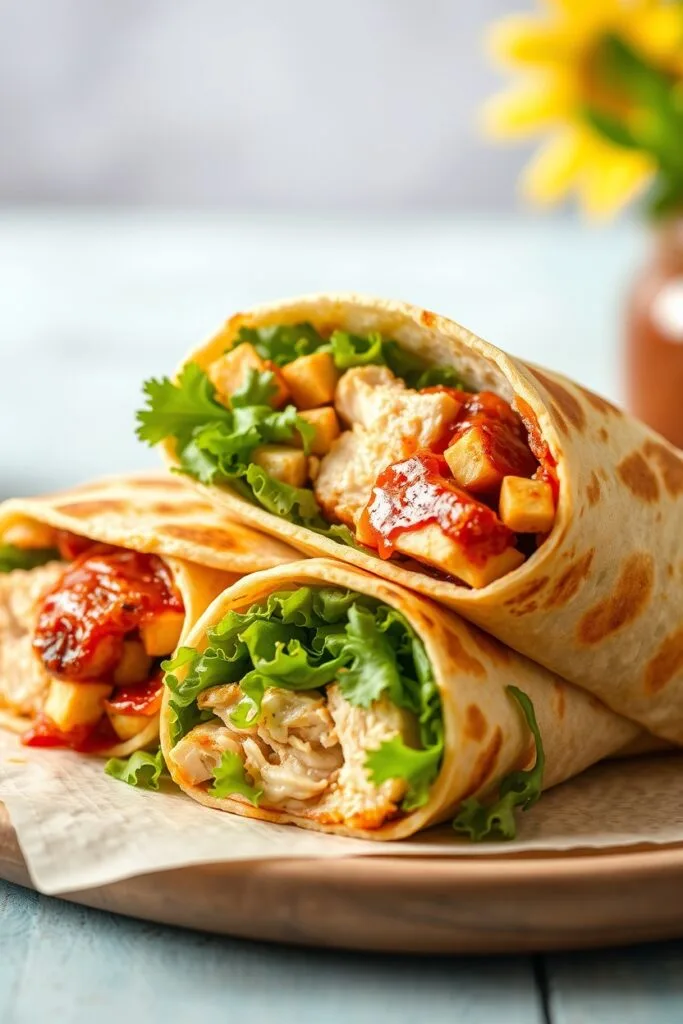
You’re going to absolutely adore these BBQ chicken wraps because they are:
- 🕙 Super quick – ready in just 10 minutes from start to finish! Perfect for busy days!
- 🍗 Protein-packed – with about 44g of protein per wrap, they’ll keep you full for hours!
- 👨👩👧👦 Family-friendly – even picky eaters love these tasty wraps!
- 🔄 Customizable – add your favorite veggies or switch up your sauces!
- 🥡 Great for meal prep – make ahead and enjoy throughout the week!
- 🔥 Crispy and delicious – toasting them gives the perfect crunch!
- 💰 Budget-friendly – especially if using leftover or rotisserie chicken!
- 😋 Restaurant quality – tastes like something from your favorite café but at a fraction of the cost!
Ingredients You’ll Need
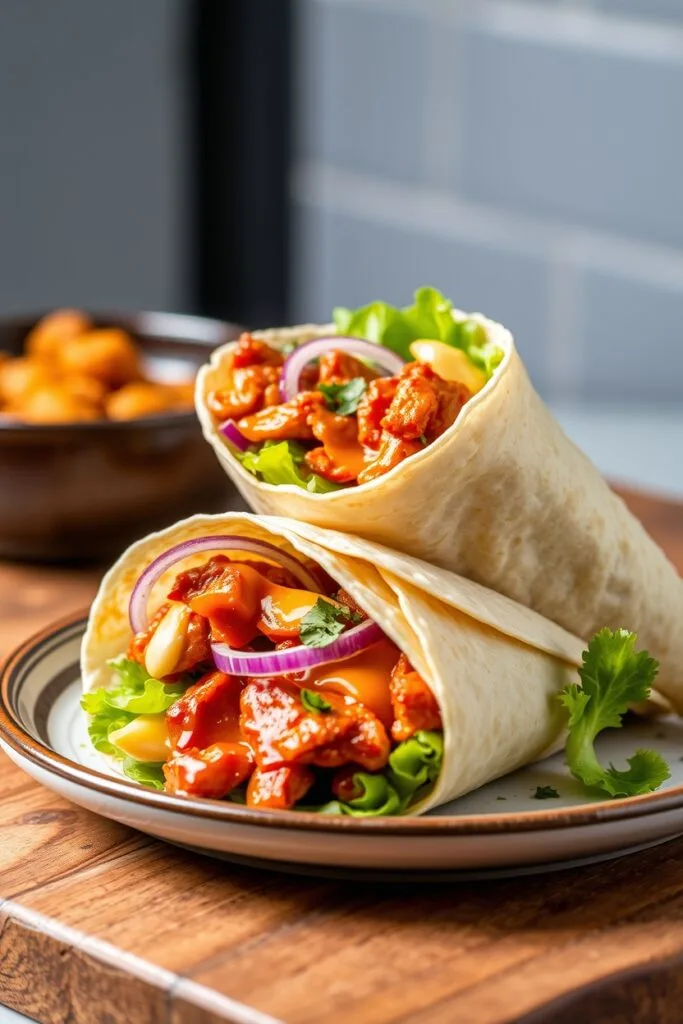
Here’s everything you’ll need to make these amazing BBQ chicken wraps:
- Large flour tortillas
- Cooked chicken (rotisserie, grilled, or leftover)
- BBQ sauce
- Shredded cheese
- Red onion
- Fresh spinach or lettuce
- Mayo (optional)
- Scallions (optional)
Scroll down to the recipe card section of the post for the ingredients with amounts included and for more complete directions.
Substitutions and Alternatives
| Ingredient | Possible Substitutions |
|---|---|
| Flour tortillas | Whole wheat tortillas, spinach wraps, gluten-free wraps, low-carb tortillas, lettuce leaves |
| Cooked chicken | Rotisserie chicken, grilled chicken, leftover chicken, canned chicken, turkey |
| BBQ sauce | Honey BBQ, spicy BBQ, sugar-free BBQ, buffalo sauce, honey mustard |
| Shredded cheese | Cheddar, mozzarella, pepper jack, dairy-free cheese, or omit |
| Red onion | Yellow onion, green onion, shallots, or omit |
| Spinach | Lettuce, arugula, kale, or other leafy greens |
| Mayo | Greek yogurt, sour cream, ranch dressing, or omit |
Equipment Checklist

Here are the tools you’ll need to make these delicious wraps:
| Equipment | Purpose |
|---|---|
| Skillet or pan | For toasting the wraps until crispy |
| Cutting board | For chopping ingredients |
| Sharp knife | For slicing chicken and veggies |
| Measuring spoons | For measuring sauces accurately |
| Mixing bowl | For combining ingredients |
| Spatula | For flipping wraps |
| Cooking spray or brush | For coating the pan |
Step-by-Step Instructions
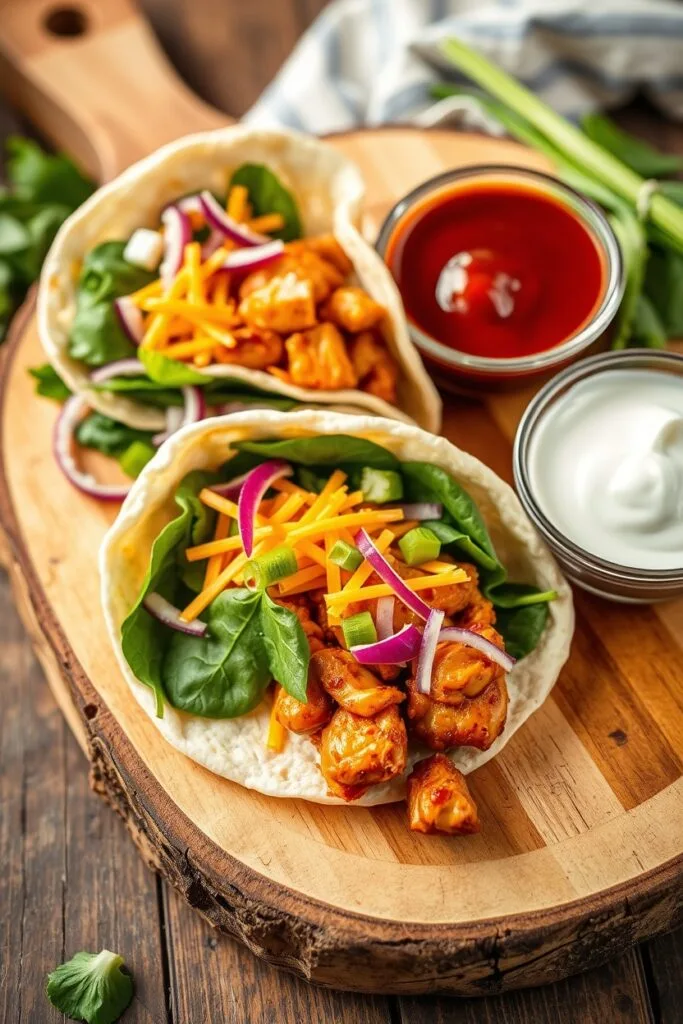
Let me walk you through how to make these crispy BBQ chicken wraps step by step:
- Prep your ingredients: Start by chopping your cooked chicken into bite-sized pieces and finely dicing the red onion. Having everything ready to go makes assembly quick and easy.
- Mix the filling: In a medium bowl, combine your chopped chicken, BBQ sauce, and a bit of the shredded cheese. Toss everything together until the chicken is well coated in that delicious barbecue sauce. This helps distribute the flavor throughout the wrap.
- Warm your tortillas: Place your tortillas on a microwave-safe plate, cover with a damp paper towel, and heat for about 30 seconds. This makes them more pliable and less likely to tear when rolling.
- Assemble your wraps: Lay each warm tortilla flat and spread a thin layer of mayo down the center if using. Add a handful of spinach or lettuce, then spoon your BBQ chicken mixture on top. Sprinkle with additional cheese, red onion, and scallions if using.
PRO TIP: Don’t overstuff your wraps! It might be tempting to pile on the fillings, but this can make them difficult to roll and more likely to burst when cooking.
- Roll it up: Fold in the sides of the tortilla, then roll from the bottom up, tucking in the sides as you go (burrito-style). Make sure everything is tucked in tightly to prevent filling from escaping during cooking.
- Cook until crispy: Heat a skillet over medium heat and lightly coat with cooking spray or a small amount of oil. Place your wraps seam-side down first (this helps seal them) and cook for 1-2 minutes on each side until they’re golden brown and crispy. Keep a close eye on them—tortillas can brown very quickly!
- Serve and enjoy: Cut in half diagonally and serve immediately while they’re hot and crispy!
Pro Tips for Perfect BBQ Chicken Wraps
Follow these tips to make your BBQ chicken wraps absolutely perfect every time:
- 🔥 Toast them right – Use medium heat so the tortilla gets crispy without burning while giving the cheese time to melt
- 🌯 Roll tight – The tighter you roll your wrap, the less likely it is to fall apart when eating or cooking
- 🧀 Use thick-shredded cheese – It melts better and creates that perfect gooey texture we all love
- 🔪 Chop chicken small – Smaller pieces distribute more evenly and make the wrap easier to bite into
- 🌡️ Warm tortillas first – This makes them more pliable and less likely to crack when rolling
- 🧄 Customize to taste – Don’t be afraid to add your favorite veggies or switch up the sauce to suit your preferences!
- 🌟 Place seam-side down – When cooking, start with the seam side down to seal the wrap and prevent it from unraveling
Serving Suggestions and Storage
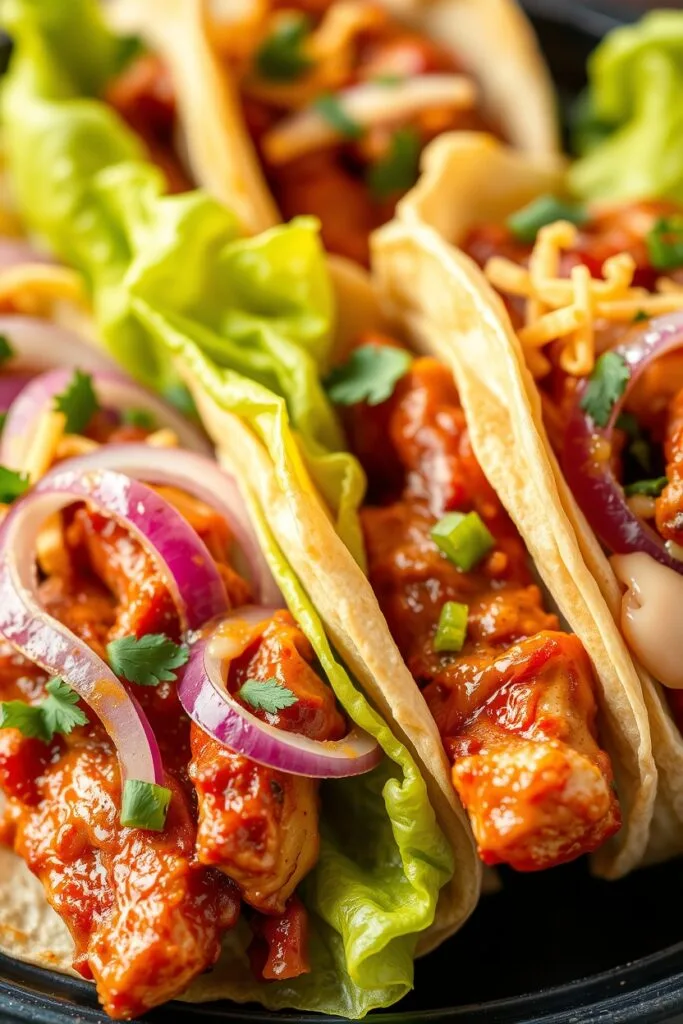
These BBQ chicken wraps are absolutely perfect on their own, but they also pair wonderfully with sides like:
- Fresh fruit slices
- Crispy sweet potato fries
- Simple green salad
- Coleslaw
- Potato chips
- Macaroni salad
- Air fryer green beans
For meal prep: You can prepare all the ingredients ahead of time and store them separately in the refrigerator for quick assembly during the week. If you want to pre-assemble the wraps, I recommend waiting to add the spinach or lettuce until just before serving to prevent sogginess.
Storage instructions: Fully assembled wraps can be stored in an airtight container in the refrigerator for 3-4 days. Just note that the greens might get a bit soft, so these are best eaten within 1-2 days of preparation.
Freezing option: You can freeze the BBQ chicken filling (without the fresh vegetables) for up to 3 months in an airtight container. Thaw overnight in the refrigerator before using.
Reheating: To reheat pre-made wraps, you can warm them in a skillet over medium heat for 1-2 minutes per side until crispy and heated through. You can also use an air fryer for 3-4 minutes for extra crispiness!
Nutritional Information
These BBQ chicken wraps aren’t just delicious – they’re also packed with nutrition! Here’s the breakdown for one wrap:
| Nutrient | Amount | % Daily Value |
|---|---|---|
| Calories | 385 | 19% |
| Carbohydrates | 22g | 7% |
| Protein | 44g | 88% |
| Fat | 13g | 20% |
| Saturated Fat | 6g | 38% |
| Fiber | 14g | 58% |
| Sugar | varies by BBQ sauce | – |
The high protein content (44g per wrap!) makes these an excellent option for a satisfying meal that will keep you full for hours. If you’re watching carbs, consider using a low-carb tortilla option to reduce the carbohydrate content further.
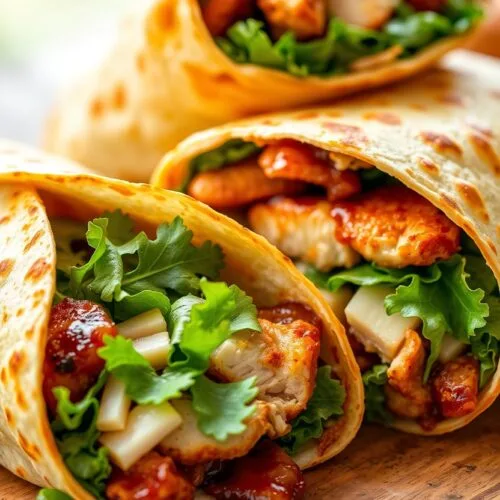
Crispy BBQ Chicken Wraps
Equipment
- Skillet or pan: For toasting the wraps until crispy
- Cutting board: For chopping ingredients
- Sharp knife: For slicing chicken and veggies
- Measuring spoons: For measuring sauces accurately
- Mixing Bowl: For combining ingredients.
- Spatula: For flipping wraps
- Cooking spray or brush: For coating the pan
Ingredients
- Large flour tortillas: 4
- Cooked chicken: 2 cups rotisserie, grilled, or leftover
- BBQ sauce: ½ cup your choice
- Shredded cheese: 1 cup cheddar, mozzarella, or your preference
- Red onion: ½ diced
- Fresh spinach or lettuce: 1 cup
- Mayo optional: 2 tablespoons
- Scallions optional: 2, sliced
- Cooking oil: For the skillet
Instructions
Prep Your Ingredients: Chop the cooked chicken into bite-sized pieces and finely dice the red onion.
Mix the Filling: In a medium bowl, combine the chopped chicken, BBQ sauce, and half of the shredded cheese. Toss until well coated.
Warm the Tortillas: Place the tortillas on a microwave-safe plate and cover with a damp paper towel. Heat in the microwave for about 30 seconds to make them pliable.
Assemble Your Wraps:
- Lay a warm tortilla flat.
- Spread a thin layer of mayo down the center (if using).
- Add a handful of spinach or lettuce.
- Spoon the BBQ chicken mixture on top.
- Sprinkle with additional cheese, red onion, and scallions.
Roll It Up: Fold in the sides of the tortilla and roll from the bottom up, tucking the sides as you go to secure the filling.
Cook Until Crispy:
- Heat a skillet over medium heat and coat lightly with cooking oil.
- Place the wraps seam-side down and cook for 1-2 minutes on each side, until golden brown and crispy.
Serve and Enjoy: Cut the wraps in half diagonally and serve immediately while hot and crispy.
Video
Notes
Storage: Store any leftovers in an airtight container in the refrigerator for 3-4 days. Reheat in a skillet or air fryer for best results.
Related Recipes You’ll Love
If you enjoy these BBQ chicken wraps, you’ll also want to try these other delicious wrap and chicken recipes:
- Healthy Chicken Caesar Wraps – Another protein-packed wrap option with a creamy, tangy flavor
- Buffalo Chicken Wraps – For those who like it spicy!
- Chicken Lettuce Wraps – A lighter, low-carb alternative
- Air Fryer BBQ Chicken – Perfect for making the filling for these wraps
- BBQ Chicken Nachos – Another fun way to use BBQ chicken
What’s your favorite quick lunch recipe? Let me know in the comments below! 💬
Essential Tools
Having the right tools makes preparing these BBQ chicken wraps even easier:
Must-Have Items:
- Non-stick skillet
- Quality chef’s knife
- Sturdy cutting board
- Mixing bowls
Recommended Products Comparison
| Product | Features | Price Range |
|---|---|---|
| Lodge Cast Iron Skillet | Perfect for achieving crispy wraps, even heating, lifetime durability | $20-30 |
| T-fal Non-Stick Pan | Easy cleanup, requires less oil, lightweight | $25-40 |
| Air Fryer | Alternative cooking method, extra crispy results, no oil needed | $70-120 |
Frequently Asked Questions
1. Can I make these BBQ chicken wraps ahead of time?
Yes! You can definitely make these wraps ahead of time. For best results, I recommend keeping the BBQ chicken mixture separate from the tortillas until you’re ready to serve. This prevents the tortillas from getting soggy. Store the chicken mixture in the refrigerator and assemble the wraps when you’re ready to eat. If you do want to pre-assemble them completely, they’ll keep in the fridge for 1-2 days, though the spinach or lettuce might get a bit soft over time.
2. What’s the best type of chicken to use for BBQ chicken wraps?
The beauty of these wraps is their flexibility! You can use any cooked chicken you have on hand. Rotisserie chicken works wonderfully because it’s tender and flavorful. Leftover grilled chicken is another excellent option that adds a nice smoky flavor. You can even use canned chicken in a pinch! The most important thing is that the chicken is fully cooked before mixing with your BBQ sauce.
3. Can I make BBQ chicken wraps gluten-free or dairy-free?
Absolutely! For gluten-free wraps, simply substitute the regular flour tortillas with gluten-free tortilla alternatives, which are widely available in most grocery stores. To make dairy-free wraps, either omit the cheese entirely or use your favorite dairy-free cheese alternative. The rest of the ingredients are naturally gluten and dairy-free (but always check your BBQ sauce ingredients to be certain).
4. How do I keep my wraps from getting soggy?
To prevent soggy wraps, especially if you’re making them ahead of time, there are a few tricks: First, don’t add too much BBQ sauce – just enough to coat the chicken well. Second, if including lettuce or spinach, add it just before serving rather than when prepping ahead. Third, if you’re including fresh vegetables with high water content (like tomatoes), pat them dry with a paper towel before adding them to your wrap. Finally, toasting the assembled wrap helps create a barrier that prevents sogginess.
5. Can I cook these wraps in an air fryer instead of a skillet?
Yes, you can absolutely cook these BBQ chicken wraps in an air fryer! Preheat your air fryer to about 350°F (175°C), place the assembled wraps in the basket (you may need to do this in batches depending on your air fryer size), and cook for approximately 3-4 minutes until the tortilla becomes crispy and golden. The air fryer gives these wraps an amazing crispy texture that’s hard to beat! Just be sure to check them frequently as cooking times can vary between different air fryer models.
Wrapping It Up!

These crispy BBQ chicken wraps have become my go-to solution for busy days when I need something quick, delicious, and satisfying. What I love most about them is how versatile they are – you can customize them with your favorite ingredients and they’re perfect for using up leftover chicken!
Whether you’re making these for a quick lunch, meal prepping for the week ahead, or serving them for a casual family dinner, I promise they’ll become a regular in your meal rotation. The combination of tangy BBQ sauce, tender chicken, melty cheese, and crispy tortilla just can’t be beat!
If you try this recipe, I’d absolutely LOVE to hear how it turned out for you in the comments below! Did you add any special ingredients? What sides did you serve with it?
And if you enjoyed this recipe, please consider saving it to your favorite Pinterest board! Just click the pin button at the top of this post. Your pins help others discover these delicious wraps too! 📌
Now, who’s ready to make some amazing BBQ chicken wraps? Let’s get cooking! 👩🍳




0 Comments