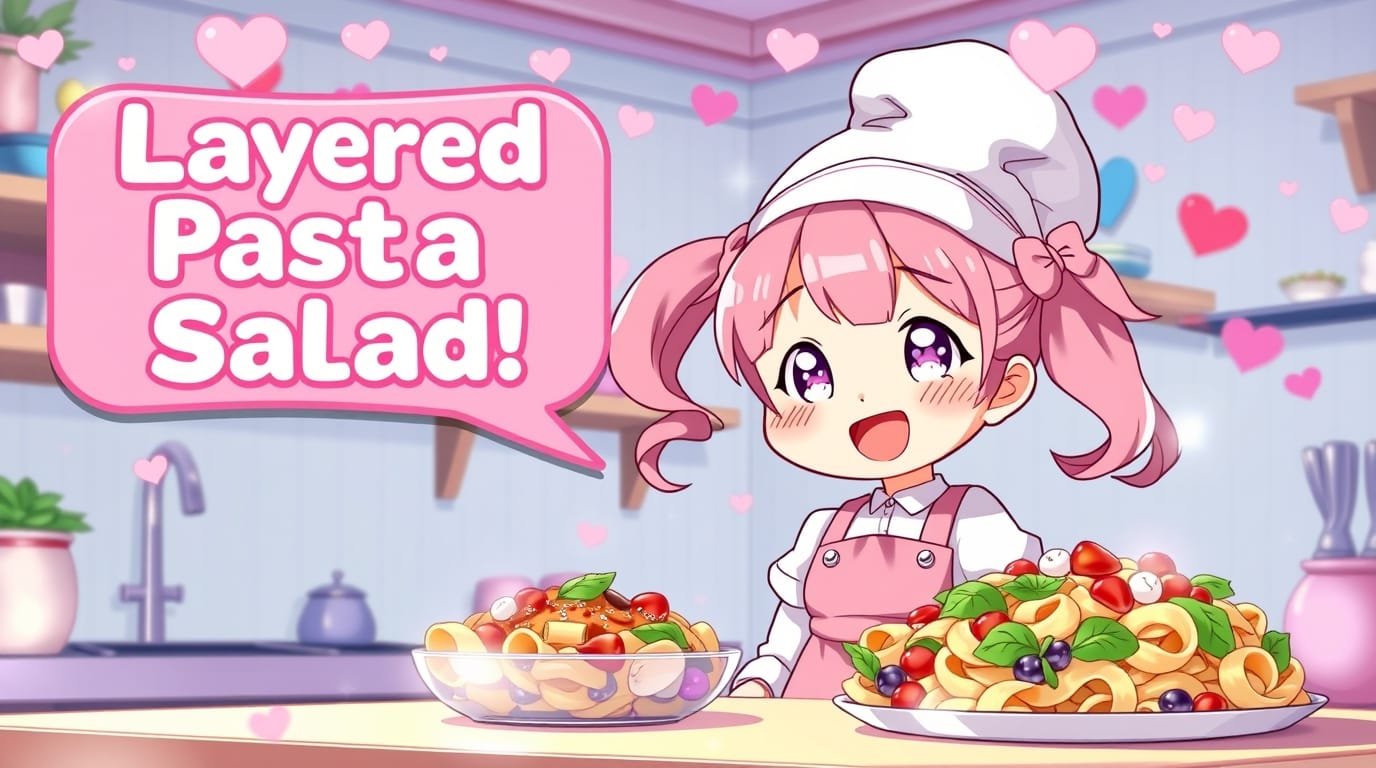
Hey there, food lovers! 👋 Get ready to dive into a bowl full of happiness with this Layered Pasta Salad! It’s a beautiful and tasty dish that’s perfect for picnics, parties, or just a fun family dinner.

Here’s the game plan:
| Prep Time | Cook Time | Total Time | Servings | Difficulty |
|---|---|---|---|---|
| 20 minutes | 10 minutes | 30 minutes | 6-8 | Easy |
My Grandma’s Secret Weapon (and It’s Not What You Think!)
This Layered Pasta Salad recipe isn’t just any recipe – it’s a blast from the past! My grandma used to make it for every family get-together, and it was always the first dish to disappear. She had this cute little wink she’d do while layering it, saying it was magic how those simple ingredients turned into pure deliciousness. ✨
Now, I’m sharing her secret with you! Get ready for a trip down memory lane with every bite. 😊
Why You’ll 💖 This Rainbow Pasta Salad:

- Super Easy to Make: Even if you’re new to cooking, you can totally nail this recipe! 🧑🍳
- Party in Your Mouth: Every bite is a flavor explosion of fresh veggies, creamy dressing, and chewy pasta! 🎉
- Crowd-Pleaser: This salad is a guaranteed hit at potlucks, picnics, and BBQs. Everyone loves a rainbow! 🌈
- Perfect for Leftovers: Make it ahead of time, and it tastes even better the next day! 😋
What You’ll Need to Gather:
For the Dressing Magic:
- Mayonnaise (or a lighter substitute if you prefer! )
- Sour Cream (Greek yogurt works great too!)
- White Wine Vinegar (a little tang!)
- Sugar (just a touch of sweetness! )
- Dijon Mustard (for a bit of zing!)
- Worcestershire Sauce (trust me on this one! )
- Salt and Pepper (always a must!)
For the Salad Rainbow:
- Pasta (any kind you like! I love using fun shapes! )
- Romaine Lettuce (or any crunchy lettuce will do!)
- Red Bell Pepper (for a pop of color! 🔴)
- Red Onion (just a little for flavor!)
- Green Peas (frozen or fresh!)
- Celery (for a nice crunch! )
- Ham (diced or cubed – yum!)
- Cheddar Cheese (because cheese makes everything better! )
Substitution Station: 🔄
| Instead of… | You can use… |
|---|---|
| Mayonnaise | Greek Yogurt |
| Sour Cream | Plain Yogurt |
| White Wine Vinegar | Apple Cider Vinegar |
| Ham | Cooked Chicken |
| Cheddar Cheese | Monterey Jack Cheese |
Don’t forget to scroll down for the full recipe card with all the ingredients and measurements! ⬇️
Your Tool Kit:

| Tool | Why You Need It |
|---|---|
| Large Pot | To cook the pasta to perfection! |
| Colander | To drain the pasta like a pro! |
| Large Serving Bowl | To hold all the rainbow goodness! |
| Small Bowl | To mix up the magical dressing! |
| Whisk | For a super smooth dressing! |
| Cutting Board | To keep those veggies in line! |
| Sharp Knife | For slicing and dicing like a chef! |
| Measuring Cups and Spoons | To get the perfect amount every time! |
Let’s Get Cookin’!
- Pasta Power! Cook your pasta according to the package directions until it’s nice and tender. Then, give it a good rinse with cold water and let it drain while you move on to the next step! Pro Tip: Don’t overcook the pasta! No one likes mushy noodles!
- Dressing Time! In a small bowl, whisk together all the dressing ingredients until they’re best friends and super smooth. Pro Tip: Taste the dressing and adjust the seasonings to your liking! You’re the boss of your salad!
- Veggie Prep: Wash and chop all your lovely veggies into bite-sized pieces. Pro Tip: Make it colorful! The more colors, the more fun!
- Layering Fun! Now comes the best part – building the rainbow! Start with a layer of pasta at the bottom of your serving bowl. Then, get creative and layer on those beautiful veggies, ham, and cheese! Pro Tip: Don’t be afraid to get those layers nice and thick! More layers = more deliciousness!
- Dress to Impress! Pour that magical dressing evenly over the top of your layered masterpiece. Pro Tip: If you’re making this ahead of time, wait to add the dressing until just before serving so the salad stays nice and crunchy!
- Chill Out: Cover your salad and let it chill in the fridge for at least an hour before serving. This gives all those amazing flavors time to mingle and become best friends!
Pro Tips for the BEST Rainbow Pasta Salad Ever:
- Cook Your Pasta Al Dente: This means it should be cooked through but still firm to the bite. No mushy pasta allowed! 🙅♀️
- Use Fresh Ingredients: Fresh veggies make a HUGE difference in flavor! Head to your local farmers market for the best picks! 🍅
- Don’t Be Afraid to Experiment: Add your favorite veggies, cheese, or even a sprinkle of nuts for extra crunch! 🥜
- Make it Ahead: This salad is a great make-ahead dish for potlucks and parties. Just assemble the layers and keep the dressing separate until ready to serve.
- Have Fun: Cooking should be enjoyable! Turn up the music, dance around your kitchen, and let your creativity flow! 🎶
Serving Up the Rainbow:
This Layered Pasta Salad is amazing on its own, but it also goes great with grilled chicken or fish, sandwiches, or burgers. You can even serve it as a light and refreshing main course!
Storing Leftovers:
Keep any leftover salad in an airtight container in the fridge for up to 3 days. It’s perfect for a quick and easy lunch or snack!
Nutrition Powerhouse!
This Rainbow Pasta Salad isn’t just delicious – it’s also packed with good-for-you ingredients like veggies, lean protein, and healthy fats.

LAYERED PASTA SALAD RECIPE
Equipment
- Large pot (for cooking pasta)
- Colander: To drain and rinse cooked pasta.
- Large Serving Bowl: To assemble and layer all ingredients.
- Small Bowl: For mixing the dressing.
- Whisk: For making smooth, creamy dressing.
- Cutting Board: For chopping vegetables and other ingredients.
- Knife: For slicing and dicing vegetables, cheese, and ham.
- Measuring Cups & Spoons: To ensure accurate measurements.
Ingredients
For the Dressing:
- Mayonnaise – 1 cup or use Greek yogurt as a light alternative
- Sour Cream – ½ cup or substitute plain Greek yogurt
- White Wine Vinegar – 1 tablespoon or use apple cider vinegar
- Sugar – 1 teaspoon
- Dijon Mustard – 1 teaspoon
- Worcestershire Sauce – 1 teaspoon
- Salt & Pepper – to taste
For the Salad:
- Pasta – 2 cups cooked and cooled (use fun shapes like rotini or farfalle)
- Romaine Lettuce – 2 cups chopped
- Red Bell Pepper – 1 medium diced
- Red Onion – ½ medium finely chopped
- Green Peas – 1 cup fresh or frozen, thawed
- Celery – 2 stalks diced
- Ham – 1 cup diced or cubed (optional: substitute cooked chicken)
- Cheddar Cheese – 1 cup shredded (substitute Monterey Jack for variety)
Instructions
Cook the Pasta:
- Bring water to a boil in a large pot.
- Cook the pasta as per package directions until al dente (firm to the bite).
- Drain using a colander and rinse with cold water to stop the cooking process.
Make the Dressing:
- In a small bowl, whisk together mayonnaise, sour cream, white wine vinegar, sugar, Dijon mustard, Worcestershire sauce, salt, and pepper until smooth.
- Taste and adjust seasoning as needed.
Prep Vegetables:
- Wash and dice/chop all vegetables into bite-sized pieces. Aim for a colorful mix to enhance presentation.
Assemble the Salad:
- In a large serving bowl, start with a layer of cooked pasta at the bottom.
- Add subsequent layers: romaine lettuce, red bell pepper, red onion, green peas, celery, ham, and shredded cheddar cheese.
Add Dressing:
- Pour the prepared dressing evenly over the top of the layered salad. For best results, gently spread the dressing to cover all layers.
Chill and Serve:
- Cover the salad with plastic wrap and chill in the refrigerator for 1 hour to allow flavors to meld.
- Serve cold and enjoy! If making ahead, add dressing just before serving to maintain the salad’s fresh, crunchy texture.
Video
Notes
Pro Tip 2: Make it ahead for convenience – the flavors get better with time! Keep the dressing separate until just before serving if making in advance.
Leftovers: Store the salad in an airtight container in the fridge for up to 3 days.
SIMPLE SUBSTITUTIONS
Mayonnaise: Replace with Greek yogurt for a lighter version.
Sour Cream: Use plain yogurt for similar creaminess.
Ham: Substitute diced cooked chicken or leave it out for a vegetarian option.
White Wine Vinegar: Apple cider vinegar works beautifully.
SERVING SUGGESTIONS
Enjoy this salad as a light main dish or pair it with grilled chicken, burgers, or fish for a complete meal.
Perfect for picnics, family dinners, or potlucks!
More Yummy Recipes to Try:
- [Link to Easy Potato Salad recipe]
- [Link to Classic Macaroni Salad recipe]
- [Link to Summer Fruit Salad recipe]
What are your favorite ways to add a rainbow of colors to your meals? Share your tips and tricks in the comments below! ⬇️
P.S. Don’t forget to pin this recipe on Pinterest so you can make it again and again!
Essential Tools for Pasta Salad Success!
Here are some must-have kitchen tools that I personally love, along with a comparison of two top-rated appliances on Amazon:
Kitchen Essentials:
- High-Quality Large Pot:
All-Clad Tri-Ply Stainless Steel Stockpot
This stockpot is perfect for boiling pasta evenly and efficiently. - Sturdy Colander:
OXO Good Grips 3-in-1 Colander
A reliable colander that makes draining your hot pasta a breeze. - Set of Mixing Bowls:
Pyrex Glass Mixing Bowls Set
These bowls are versatile, durable, and great for mixing ingredients or marinating your veggies.
Appliance Showdown!
Below is a side-by-side comparison of two dream kitchen appliances that can help you prep your pasta salad ingredients with ease:
| Feature | Cuisinart 14-Cup Food Processor (View on Amazon) | KitchenAid 2-Speed Hand Blender (View on Amazon) |
|---|---|---|
| Versatility | High – Comes with multiple attachments for slicing, dicing, and shredding veggies. | Medium – Ideal for pureeing dressings and blending small batches. |
| Ease of Use | High – Easy-to-change blades and intuitive controls make it user-friendly. | High – Simple one-button control for quick operations. |
| Price | $$$ – A premium investment for serious home chefs. | $$ – A budget-friendly option for everyday tasks. |
| Cleaning | Moderate – Parts are dishwasher safe, but cleaning can take some extra time. | Easy – Minimal parts and a simple design make cleanup a snap. |
| Best For: | Multitasking in the kitchen – slicing, shredding, and dicing veggies for your pasta salad. | Quick and easy tasks – perfect for pureeing beverages, dressings, and light blending. |
I hope these recommendations make your pasta salad prep even more fun and efficient. With the right tools in your kitchen, creating a Layered Pasta Salad becomes a joyful and hassle-free experience. Enjoy your cooking adventure!
FAQ: Your Pasta Salad Questions, Answered!
1. Can I make this salad ahead of time?
Absolutely! In fact, the flavors meld together even more if you make it a few hours ahead of time. Just store the salad and dressing separately and combine them right before serving.
2. What kind of pasta is best for this salad?
Any kind of pasta will work! I like to use fun shapes like rotini or farfalle, but you can also use classic macaroni or even penne.
3. Can I use a different dressing?
Of course! This salad is very versatile, so feel free to experiment with different dressings. A simple vinaigrette or even a creamy avocado dressing would be delicious.
4. Can I add different vegetables?
Yes! Make it your own by adding your favorite veggies. Broccoli florets, cherry tomatoes, cucumbers, and shredded carrots would all be delicious additions.
5. How long will this salad last in the fridge?
This salad is best enjoyed within 2-3 days of making it. Make sure to store it in an airtight container to keep it fresh.
Ready to Make Some Magic in the Kitchen? ✨

I can’t wait for you to try this Layered Pasta Salad recipe! It’s a guaranteed crowd-pleaser that’s bursting with flavor and personality. Remember, cooking should be fun, so put on your apron, turn up the music, and let your inner chef shine! And don’t forget to snap a picture of your colorful creation and share it with me on Pinterest!
Happy cooking!


0 Comments