")
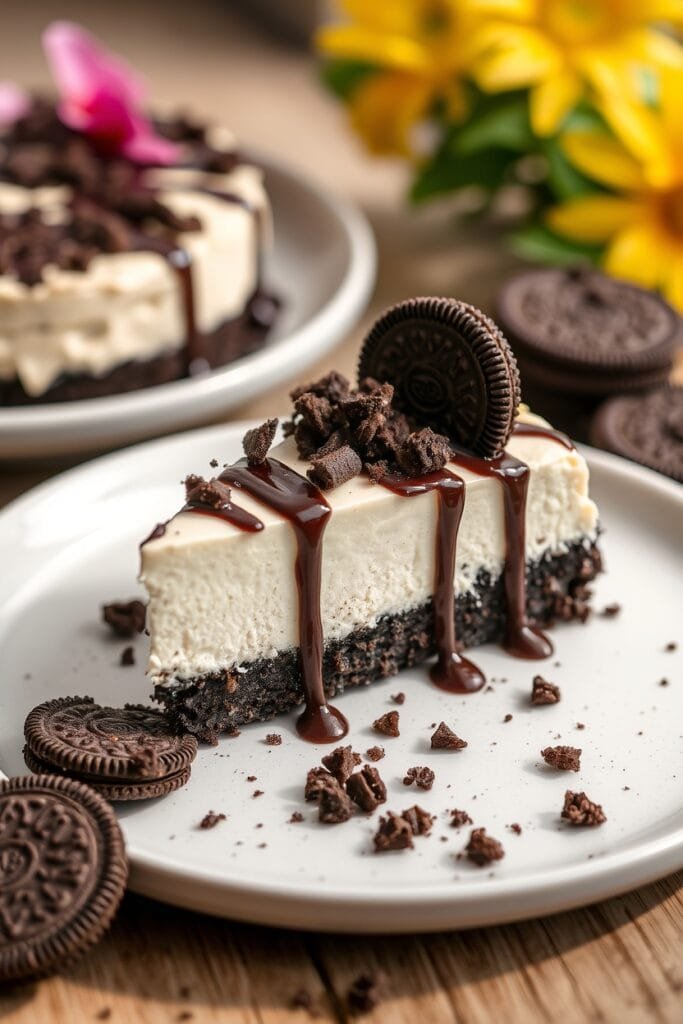
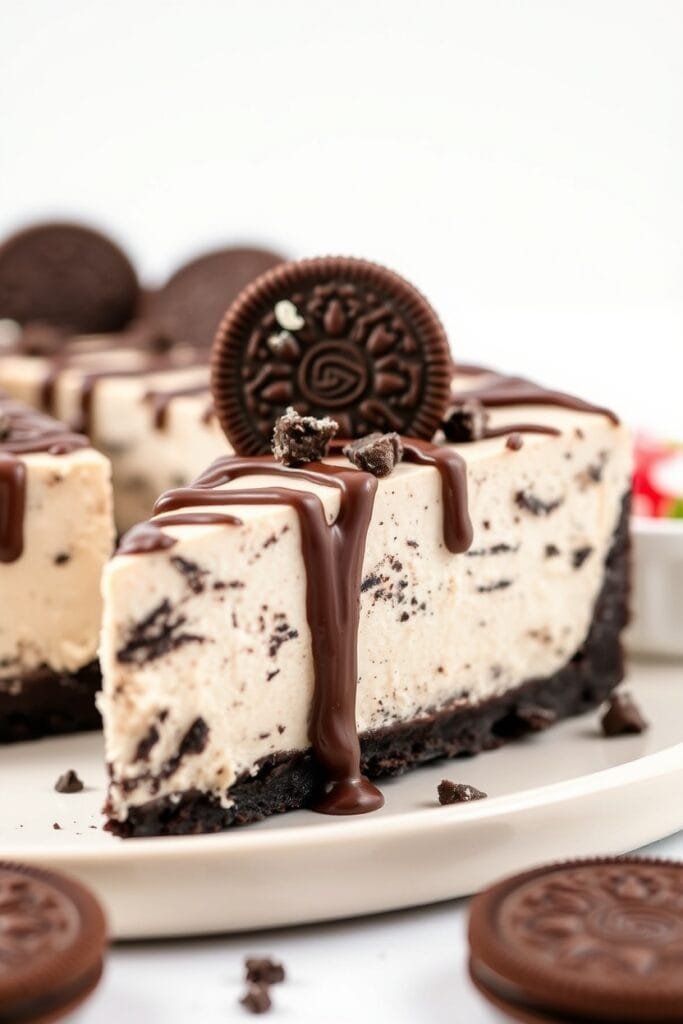
This heavenly no-bake Oreo cheesecake is the perfect blend of creamy, chocolatey goodness without ever turning on your oven! With a crunchy Oreo crust and velvety smooth filling studded with cookie pieces, this dessert is guaranteed to become your new favorite treat. It’s incredibly simple to make yet looks totally impressive! 😍
| Prep Time | Chill Time | Total Time | Servings | Difficulty |
|---|---|---|---|---|
| 25 minutes | 4-6 hours | 5 hours | 8-10 slices | Easy |
My Love Affair with Oreo Cheesecake 💕
I’ll never forget the first time I made this no-bake Oreo cheesecake. It was during a summer heatwave when turning on the oven seemed like torture! My kids were begging for something sweet, and I had a package of Oreos calling my name from the pantry. With some cream cheese in the fridge and a little creativity, this recipe was born! Now it’s our family’s go-to dessert for birthdays, potlucks, and whenever we need a quick sweet fix. The best part? Everyone thinks I spent hours making it, but it’s our little secret how simple it really is! This easy no-bake Oreo cheesecake recipe has saved me countless times when unexpected guests arrive or when I need a dessert that looks fancy but requires minimal effort!
Why You’ll Love This Recipe
- 🍪 Uses real Oreo cookies throughout for authentic flavor!
- ⏱️ Super quick prep time – just mix, chill, and enjoy!
- 🧁 No baking required – perfect for hot summer days!
- 👶 Kid-friendly recipe they can help make!
- 🎂 Looks impressive enough for special occasions!
- 🔄 Can be made ahead of time for stress-free entertaining!
- 💪 Easily customizable with different Oreo flavors or toppings!
- 🍽️ Creates perfect slices that hold their shape!
- 🤩 Guaranteed to impress everyone who tries it!
- 💰 More affordable than store-bought cheesecakes!
Ingredients
For the Crust:
- Oreo cookies
- Butter
For the Filling:
- Cream cheese
- Whipping cream
- Powdered sugar
- Vanilla extract
- Oreo cookies (chopped)
For Decoration (Optional):
- Additional Oreo cookies
- Whipped cream
- Chocolate shavings
Scroll down to the recipe card section of the post for the ingredients with amounts included and for more complete directions.
Possible Substitutions:
| Ingredient | Substitution Options | Notes |
|---|---|---|
| Oreo Cookies | Chocolate graham crackers, Biscoff cookies, gluten-free chocolate sandwich cookies | Flavor will vary slightly |
| Cream Cheese | Mascarpone cheese, Neufchâtel cheese | Mascarpone is richer, Neufchâtel is lower in fat |
| Whipping Cream | Heavy cream, cool whip | Cool whip makes an even easier version |
| Powdered Sugar | Granulated sugar with 1 tsp cornstarch | Process in food processor until fine |
| Vanilla Extract | Almond extract, vanilla bean paste | Different but delicious flavor profiles |
| Butter | Coconut oil (melted) | Creates a slightly different texture |
Equipment Checklist

| Equipment | Purpose | Must-Have? |
|---|---|---|
| 8-9 inch springform pan | Holds cheesecake and allows for easy removal | Yes |
| Large mixing bowl | For preparing filling | Yes |
| Electric mixer | Makes whipping cream and mixing filling easier | Recommended |
| Food processor | For crushing Oreos (can use alternate method) | No |
| Ziplock bag & rolling pin | Alternative method for crushing Oreos | If no food processor |
| Measuring cups/spoons | For accurate measurements | Yes |
| Rubber spatula | For folding and scraping bowl | Yes |
| Offset spatula | For smoothing top of cheesecake | Recommended |
| Plastic wrap | For covering while chilling | Yes |
Step-by-Step Instructions

Prepare the Crust:
First, let’s make our chocolatey Oreo crust! Take about 24 Oreo cookies and crush them into fine crumbs . You can use a food processor for this or put them in a ziplock bag and crush them with a rolling pin . Remember to keep the cream filling in the cookies – no need to remove it! The filling actually helps bind the crust together .
Once your cookies are crushed, melt about 4-5 tablespoons of butter and mix it with the Oreo crumbs until it resembles wet sand . Press this mixture firmly into the bottom of your lined springform pan . I like to use the back of a spoon or a flat-bottomed glass to really pack it down tight .
PRO TIP: Use a bit of salted butter for your crust! The slight saltiness creates an amazing flavor contrast with the sweet filling.
Make the Filling:
In a large bowl, beat the room temperature cream cheese with powdered sugar until smooth and creamy . Make sure your cream cheese is at room temperature to avoid lumps . This is super important for that silky smooth texture we want!
In another bowl, whip the cold heavy cream until stiff peaks form . This might take a few minutes, but be patient! The cream should hold its shape when you lift the beaters . Cold cream whips up much better, so keep it refrigerated until you’re ready to use it .
PRO TIP: Don’t overwhip your cream! If it starts looking grainy, you’ve gone too far. It should be thick but still smooth.
Gently fold the whipped cream into your cream cheese mixture . Use a spatula and be gentle so you don’t deflate all that air you just whipped in . This is what makes our cheesecake light and fluffy!
Add the Oreos:
Now for the fun part! Crush about 10-12 more Oreo cookies into chunks (not fine crumbs) . I like to just break these up by hand for bigger pieces . Fold these Oreo pieces into your cheesecake filling . This gives you those delicious Oreo surprises in every bite!
Assemble and Chill:
Pour your Oreo-studded filling over the prepared crust and smooth the top with a spatula . For an extra-special touch, sprinkle some additional crushed Oreos on top . Cover with plastic wrap and refrigerate for at least 4-6 hours, but overnight is best . This gives the cheesecake plenty of time to set properly.
PRO TIP: For cleaner slices, dip your knife in hot water and wipe it clean between cuts!
Pro Tips for Perfect No-Bake Oreo Cheesecake 🥄
- 🧊 Make sure all dairy ingredients are properly chilled except the cream cheese (which should be room temperature)
- 🥣 Don’t overmix after adding the whipped cream – fold gently to keep it fluffy!
- 📏 Line the bottom of your springform pan with parchment paper for easiest removal
- 🍪 Save a few whole Oreos for decoration on top – it gives everyone a hint of what’s inside!
- ⏰ Allow plenty of chilling time – rushing this step might result in a soft, messy cheesecake
- 🔪 For the cleanest slices, run a thin knife around the edge of the pan before releasing the spring
- 💧 Some recipes use gelatin to help set the cheesecake, but it’s not necessary if you properly whip your cream
- 🧂 A tiny pinch of salt in the filling enhances all the flavors – trust me on this one!
- 🍫 For chocolate lovers, reserve some of the filling and mix with melted chocolate for a two-tone effect!
Serving Suggestions and Storage Tips
This no-bake Oreo cheesecake is absolutely delicious on its own, but I love to dress it up for special occasions! Try adding a dollop of whipped cream on each slice and garnish with mini Oreos or chocolate shavings . For a gorgeous presentation, pipe whipped cream swirls around the edge and place half Oreos between each swirl .
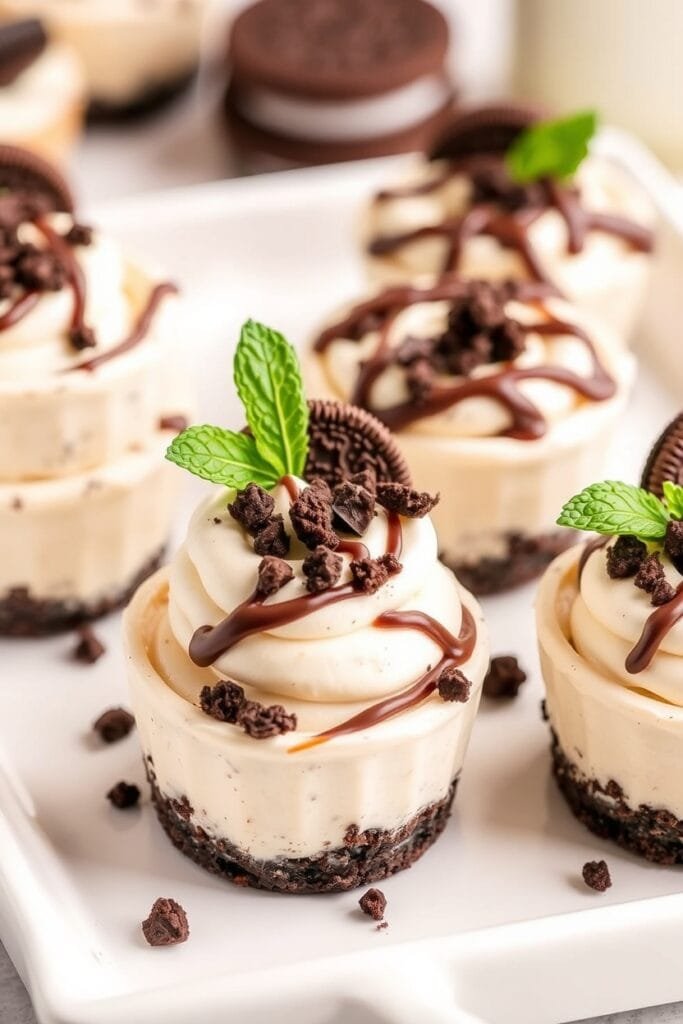
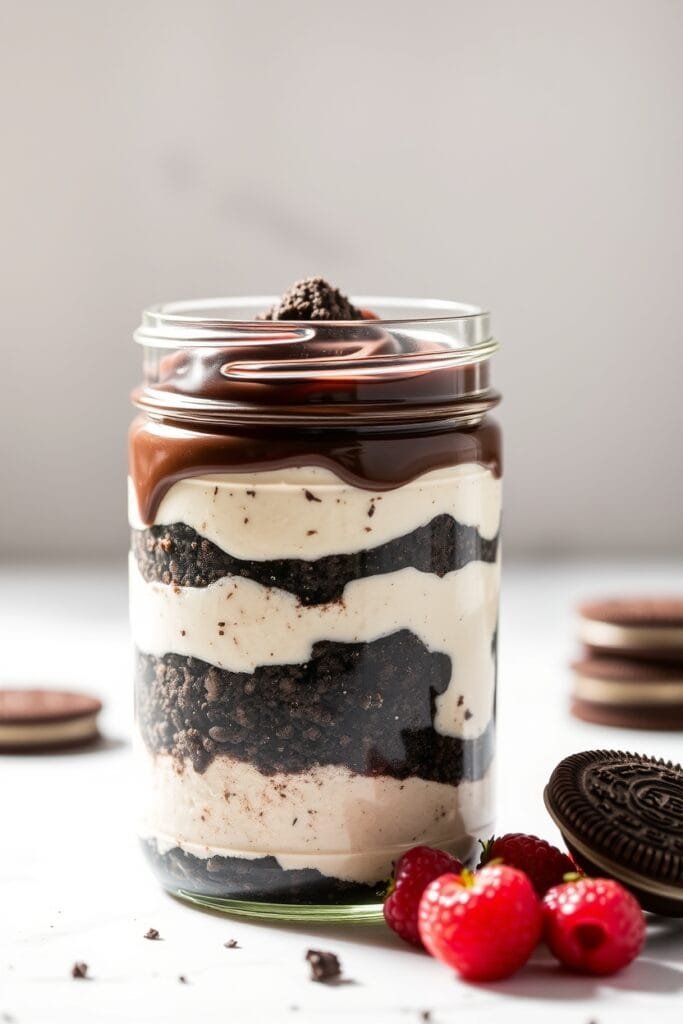
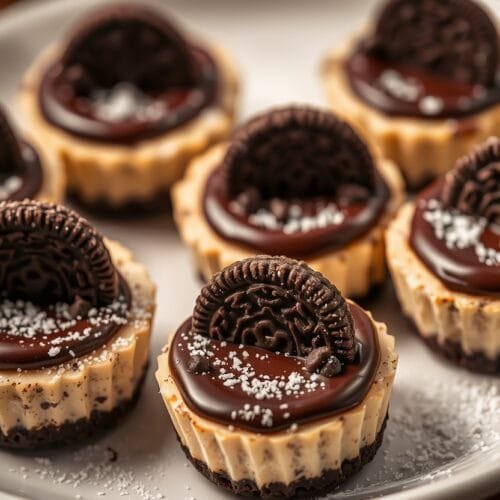
For a fun twist, try making mini no-bake Oreo cheesecakes by preparing the recipe in a muffin tin lined with paper liners . These individual servings are perfect for parties and kids absolutely love them! You can also create no-bake Oreo cheesecake in a jar for picnics or portable treats .
To store your cheesecake, cover it tightly with plastic wrap and keep in the refrigerator for up to 3-4 days . The flavor actually improves after the first day as everything melds together! If you want to prepare this ahead for a party, it’s perfect to make 1-2 days in advance.
Can you freeze this cheesecake? Absolutely! Wrap individual slices or the whole cheesecake (minus any whipped cream decorations) in plastic wrap, then aluminum foil, and freeze for up to 2 months . Thaw overnight in the refrigerator before serving.
Nutritional Information
| Nutrient | Amount per Serving | % Daily Value |
|---|---|---|
| Calories | 450 | – |
| Total Fat | 32g | 41% |
| Saturated Fat | 18g | 90% |
| Cholesterol | 95mg | 32% |
| Sodium | 320mg | 14% |
| Total Carbohydrates | 38g | 14% |
| Dietary Fiber | 1g | 4% |
| Sugars | 29g | – |
| Protein | 5g | 10% |
While this cheesecake is definitely a treat, the good news is that cream cheese provides calcium and protein! The portion control of sliced cheesecake helps manage your indulgence, and since it’s so rich and satisfying, a small piece is often enough to satisfy your sweet cravings.
Dreamy No-Bake Oreo Cheesecake
Equipment
- 8-9 inch springform pan: For holding the cheesecake and easy removal.
- Large mixing bowl: For preparing the filling.
- Electric mixer: For whipping cream and mixing the filling.
- Food processor or ziplock bag & rolling pin: For crushing Oreos.
- Measuring Cups & Spoons: For accurate measurements.
- Rubber spatula: For folding and scraping the bowl.
- Offset spatula: For smoothing the top of the cheesecake.
- Plastic wrap: For covering while chilling.
Ingredients
For the Crust
- 24 Oreo cookies crushed, including cream filling
- 4-5 tablespoons butter melted
For the Filling
- 16 oz cream cheese room temperature
- 1 cup heavy whipping cream cold
- 1/2 cup powdered sugar
- 1 teaspoon vanilla extract
- 10-12 Oreo cookies chopped
For Decoration (Optional)
- Additional Oreo cookies
- Whipped cream
- Chocolate shavings
Instructions
Prepare the Crust:
- Crush 24 Oreo cookies until they reach fine crumbs (use a food processor or place them in a ziplock bag and crush with a rolling pin).
- In a mixing, combine the crushed cookies with melted butter until it resembles wet sand.
- Press the mixture firmly into the bottom of a lined springform pan.
Make the Filling:
- In a large bowl, beat the room temperature cream cheese with powdered sugar until smooth and creamy.
- In another bowl, whip the cold heavy cream until stiff peaks form.
- Gently fold the whipped cream into the cream cheese mixture. Be careful not to deflate the whipped cream.
Add the Oreos:
- Crush an additional 10-12 Oreo cookies into chunks and fold these into the filling.
Assemble and Chill:
- Pour the filling over the prepared crust and smooth the top with an offset spatula.
- For extra decoration, sprinkle some additional crushed Oreos on top.
- Cover with plastic wrap and refrigerate for at least 4-6 hours (overnight is best).
Serve:
- Once set, carefully remove the cheesecake from the springform pan.
- Cut into slices and serve. Optionally, top with whipped cream and mini Oreos for garnish.
Video
Notes
Feel free to use different flavors of Oreos to customize the cheesecake.
This cheesecake can be made a day ahead, as the flavor improves after resting.
If freezing, wrap in plastic wrap and then aluminum foil for up to 2 months; thaw in the refrigerator before serving.
Related Recipes You’ll Love
If you enjoyed this no-bake Oreo cheesecake, you’ll definitely want to try these other delicious treats! My No-Bake Strawberry Cheesecake uses the same easy technique but with fresh berries. For chocolate lovers, my No-Bake Chocolate Ganache Cheesecake adds a decadent layer of rich chocolate on top . And don’t miss my Mini No-Bake Cheesecake Cups – perfect for portion control and parties! They’re just as easy but in adorable individual servings.
Have you tried this recipe? I’d absolutely love to hear how it turned out for you! Drop me a comment below with your experience or any questions you have! 💬
Essential Tools
| Tool | Why I Love It | Price Range |
|---|---|---|
| Springform Pan | Makes removal super easy without damaging your cheesecake | $15-25 |
| KitchenAid Stand Mixer | Perfect for whipping cream to stiff peaks without arm fatigue | $280-350 |
| Offset Spatula | Creates that perfectly smooth top | $8-15 |
| OXO Food Scale | For precise measurements, especially for the Oreos | $30-50 |
| Silicone Spatulas | Helps get every bit of filling out of the bowl | $10-20 |
Frequently Asked Questions
Why isn’t my no-bake cheesecake setting properly?
The most common reason is not whipping the cream to stiff enough peaks . Make sure your cream is very cold before whipping and whip until it holds its shape firmly. Another possibility is that it needs more time in the refrigerator – aim for at least 6 hours, but overnight is best . Also, make sure your cream cheese was at room temperature when you started – if it’s too cold, it won’t blend properly with other ingredients .
Can I use different flavors of Oreos for this recipe?
Absolutely! This recipe works wonderfully with any Oreo variety . Try mint Oreos for a refreshing twist, golden Oreos for a vanilla-based cheesecake, or even limited edition flavors like birthday cake or peanut butter! Just keep the same amount of cookies as called for in the recipe. For a gluten-free no-bake Oreo cheesecake, simply substitute with gluten-free chocolate sandwich cookies .
Do I need to remove the cream filling from the Oreos?
Nope! Leave that delicious cream filling right where it is . The filling actually helps bind the crust together and adds to the overall sweetness and flavor of the cheesecake. Plus, it saves you a step (and prevents you from eating all those cream centers while preparing the recipe… we’ve all been there!) .
Can I make this cheesecake without a springform pan?
Yes! While a springform pan makes it easiest to remove and serve your cheesecake , you can use other options. A pie dish works well, though you’ll serve it more like a pie than traditional cheesecake slices . For individual servings, try using muffin tins lined with paper liners or small mason jars for no-bake Oreo cheesecake in a jar . The recipe works the same way, just adjust your assembly method!
How far in advance can I make this cheesecake?
This cheesecake is perfect for make-ahead desserts! You can prepare it up to 3 days before serving and keep it refrigerated . In fact, many people find the flavor improves after the first day as the ingredients meld together. If you need to make it even further ahead, you can freeze it for up to 2 months – just thaw overnight in the refrigerator before serving .
Let’s Make Cheesecake Magic Together!

I hope you’re as excited as I am to whip up this dreamy no-bake Oreo cheesecake! It’s truly one of my favorite desserts to make because it’s nearly foolproof and always gets rave reviews. There’s something so satisfying about creating such an impressive dessert with so little effort!
Whether you’re making this for a special occasion, a summer barbecue when it’s too hot to bake, or just because you deserve a treat (you definitely do!), I know you’re going to love how it turns out. The contrast between the crunchy Oreo crust and the silky smooth filling is absolutely magical!
If you make this recipe, please snap a photo and tag me on social media or leave a comment below! I absolutely LOVE seeing your creations and hearing how recipes worked for you! And don’t forget to save this to your dessert Pinterest board for later – your future self will thank you when you need a quick, impressive dessert idea! 📌

")


0 Comments