")
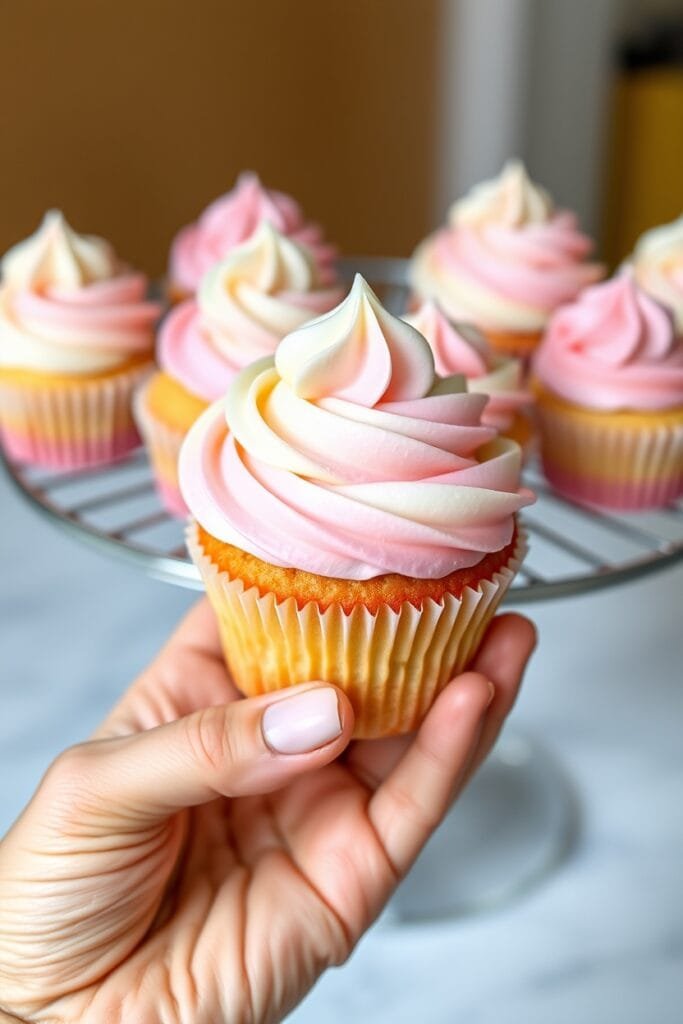
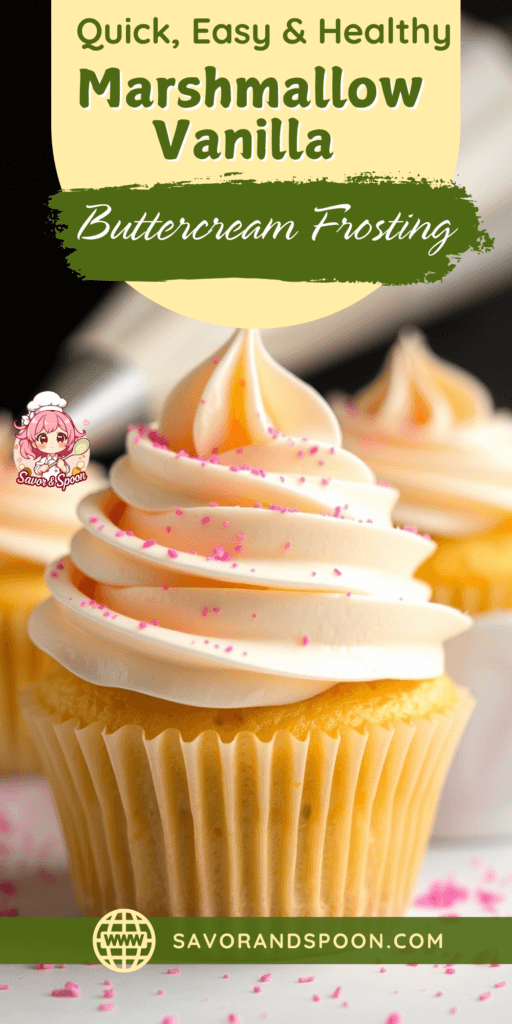
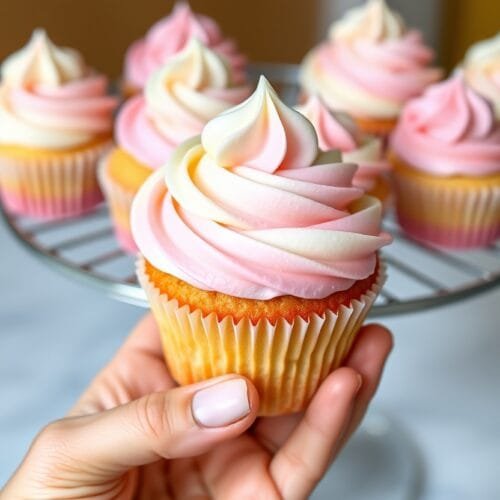
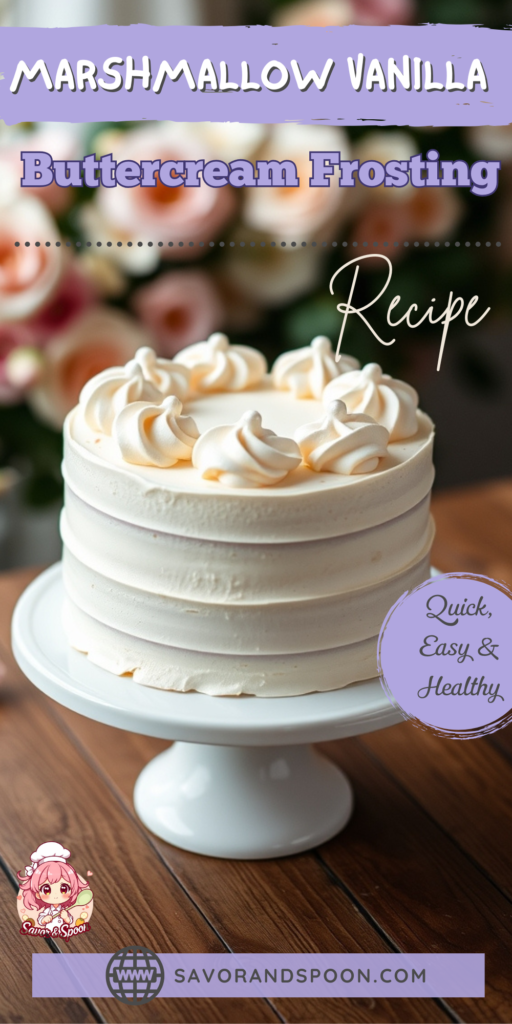
Get ready to make the fluffiest, creamiest, and most decadent frosting you’ve ever tasted with this Marshmallow Vanilla Buttercream Frosting! This versatile recipe combines the light, airy sweetness of marshmallows with the rich creaminess of butter and a touch of vanilla. Whether you’re frosting cupcakes, decorating layer cakes, or creating cookies with marshmallow-filled magic, this frosting is perfect for elevating your desserts!
Quick Recipe Overview
- Prep Time: 10 minutes
- Total Time: 10 minutes
- Yields: Enough to frost 12–18 cupcakes or a standard layer cake
- Skill Level: Beginner-Friendly
Why You’ll Love This Recipe
- Fluffy and Sweet: The marshmallow fluff creates an airy, cloud-like texture that’s ideal for spreading or piping.
- Quick and Easy: With just 5 ingredients, you’ll have a luscious frosting ready in 10 minutes.
- Versatile: Perfect for cakes, cupcakes, cookies, or even as a filling for sandwich cookies!
- Delicious Vanilla Flavor: The vanilla extract adds an irresistible warmth to balance out the sugary sweetness.
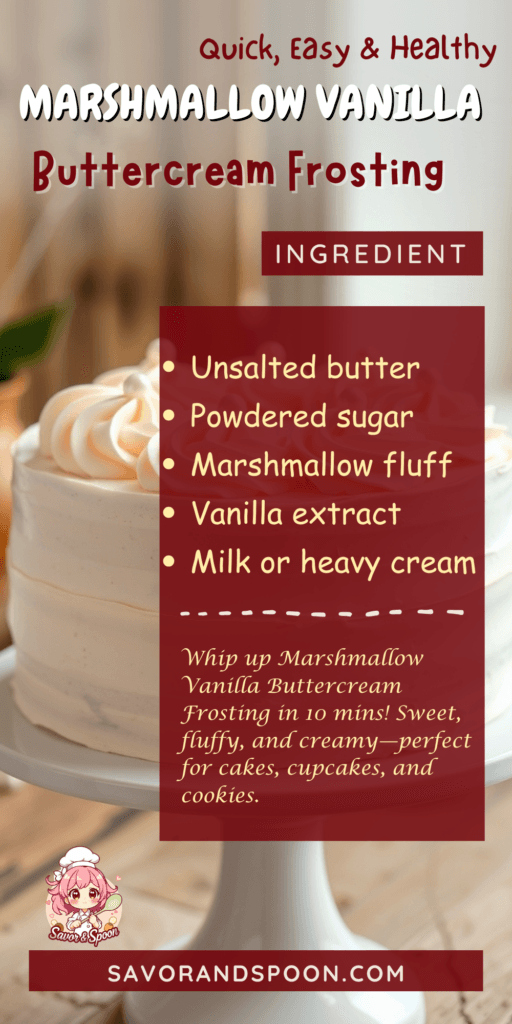
Ingredients You’ll Need
You only need a few pantry staples to whip up this Marshmallow Vanilla Buttercream Frosting:
- Unsalted butter (room temperature is key for smooth mixing)
- Powdered sugar (for sweetness and stability)
- Marshmallow fluff (the all-star ingredient for fluffiness)
- Vanilla extract (high-quality vanilla makes a big difference!)
- Milk or heavy cream (to adjust consistency for spreading or piping)
👉 Head to the recipe card below for specific measurements and instructions!
How to Make Marshmallow Vanilla Buttercream Frosting
This frosting comes together in just a few simple steps—let’s get started!
1. Cream the Butter
- In a large mixing bowl, beat the softened butter with an electric mixer on medium speed until it’s light and fluffy. This should take about 2–3 minutes.
2. Add the Marshmallow Fluff
- Slowly add the marshmallow fluff to the butter, continuing to beat until fully combined. The mixture should be creamy and smooth.
3. Mix in the Powdered Sugar
- Gradually add the powdered sugar, ½ cup at a time, beating well after each addition. This ensures the frosting stays smooth and fluffy without becoming grainy.
4. Add Vanilla and Milk
- Mix in the vanilla extract for flavor. If the frosting is too thick, add 1 tablespoon of milk or heavy cream at a time until you reach your desired consistency—smooth enough to spread but sturdy enough to hold its shape.
5. Beat Until Fluffy
- Turn the mixer to high speed and beat for another 1–2 minutes to make the frosting extra light and fluffy.
⭐ And that’s it! Your fluffy Marshmallow Vanilla Buttercream Frosting is ready to pipe, spread, or lick straight off the spoon!
Pro Tips for the Perfect Frosting
- Use Room-Temperature Butter: This ensures the butter creams easily and creates a smooth, lump-free frosting.
- Don’t Skip the Sifting: If your powdered sugar has lumps, sift it before adding to the frosting for a silky texture.
- Chill if Necessary: If your frosting feels too soft for piping, pop it in the fridge for 10–15 minutes to firm up.
- Double the Recipe: If you’re frosting a large layered cake or using it as a filling, double the quantities to ensure you have enough.
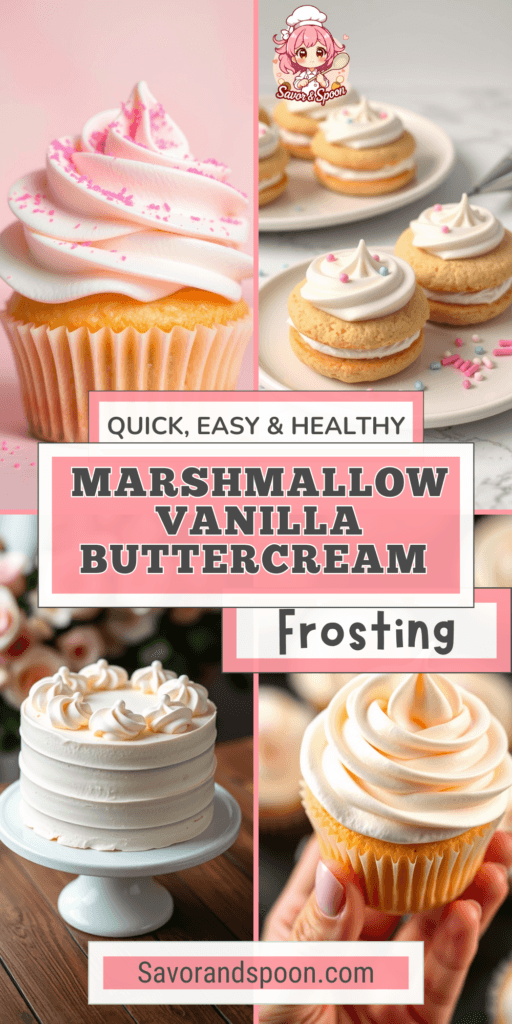
Uses for Marshmallow Vanilla Buttercream Frosting
This frosting is incredibly versatile—here are some tasty ideas to inspire you:
- Cupcakes: Spread or pipe this frosting on top of your favorite flavored cupcakes, like chocolate, vanilla, or red velvet.
- Layer Cakes: Frost between and on top of cakes for an elegant, cloud-like finish.
- Cookies: Use it as a filling for sandwich cookies or simply spread on top for a customizable treat.
- Dipped Desserts: Coat strawberries, pretzels, or graham crackers with this frosting for a fun twist.
Recipe Variations You’ll Love
This recipe is a great base for experimentation. Here are some popular twists:
- Chocolate Marshmallow Frosting: Add 2–3 tablespoons of cocoa powder for a chocolaty upgrade.
- Colorful Swirls: Mix gel food coloring into separate portions of the frosting for vibrant designs.
- Mint Marshmallow Buttercream: Add a few drops of peppermint extract for a winter-inspired dessert topping.
- Coconut Marshmallow Frosting: Swap the vanilla extract with coconut extract and garnish your desserts with shredded coconut!
Storage and Make-Ahead Tips
- Room Temperature: Store leftover frosting in an airtight container for up to 2 days.
- Refrigerator: Refrigerate for up to 1 week. Bring back to room temperature and re-whip before using.
- Freezer: Store in a freezer-safe container for up to 2 months. Defrost in the fridge overnight and then whip again for best results.
Recommended Kitchen Tools
- Electric Hand Mixer or Stand Mixer: Makes beating butter and marshmallow fluff a breeze.
- Piping Bags and Tips: Perfect for creating those iconic bakery-style swirls.
- Rubber Spatula: Helps scrape every last bit of frosting from the bowl.
Marshmallow Vanilla Buttercream Frosting
Video
Marshmallow Vanilla Buttercream Frosting Recipe
Printable Recipe Card
Ingredients:
- 1 cup (2 sticks) unsalted butter, softened
- 2 cups powdered sugar (sifted)
- 1 cup marshmallow fluff
- 1 tsp vanilla extract
- 1–2 tbsp milk or heavy cream (to adjust consistency)
Instructions:
- In a mixing bowl, beat softened butter until light and fluffy (2–3 minutes).
- Slowly add marshmallow fluff to the butter and beat until smooth.
- Gradually add powdered sugar, beating well after each addition.
- Stir in vanilla extract and add milk 1 tablespoon at a time until the desired consistency is reached.
- Beat on high for 1–2 minutes until frosting is fluffy and ready to use.
Closing Thoughts

This Marshmallow Vanilla Buttercream Frosting is guaranteed to elevate your baked goods to the next level. Whether it’s for cupcakes at a birthday party or as a sweet topping for cookies during the holidays, this frosting is sure to be a hit! It’s creamy, versatile, and oh-so-easy to make. Don’t forget to share your creations and tag me—I’d love to see what you bake with this dreamy marshmallow frosting!

")


I’m wondering ,how the frosting holds up. If I cut a piece and put in a bag, is it sticky? Will it stick to the bag? Or does it form up somewhat? I want to try on a brownie.
Hi Kristine,
The Marshmallow Vanilla Buttercream Frosting is designed to be fluffy and creamy, which means it holds up well on desserts like brownies. When you frost a brownie and allow the frosting to set for a bit, it will firm up but will still remain soft to the touch.
If you cut a piece of brownie with the frosting and place it in a bag, there is a possibility that the frosting could become slightly sticky, especially if the frosting has not had enough time to set or if the environment is warm. Here are some points to consider:
Firmness: After frosting, let the brownie sit at room temperature for at least 30 minutes to an hour. This allows the frosting to firm up somewhat, making it less likely to stick to a bag when stored.
Storage: If you place the frosted brownie in a bag, it may still stick a little due to the marshmallow fluff in the frosting, but it shouldn’t be excessively sticky.
Best Practice: If you’re concerned about sticking, you can place a piece of parchment paper between the frosting and the bag or use a container with a lid to store the frosted brownie.
Overall, while the frosting will set up nicely and hold its shape, some stickiness might occur if not stored carefully. Enjoy your brownie with the frosting!